
Mixing Product1 min read
Gossip1 min read
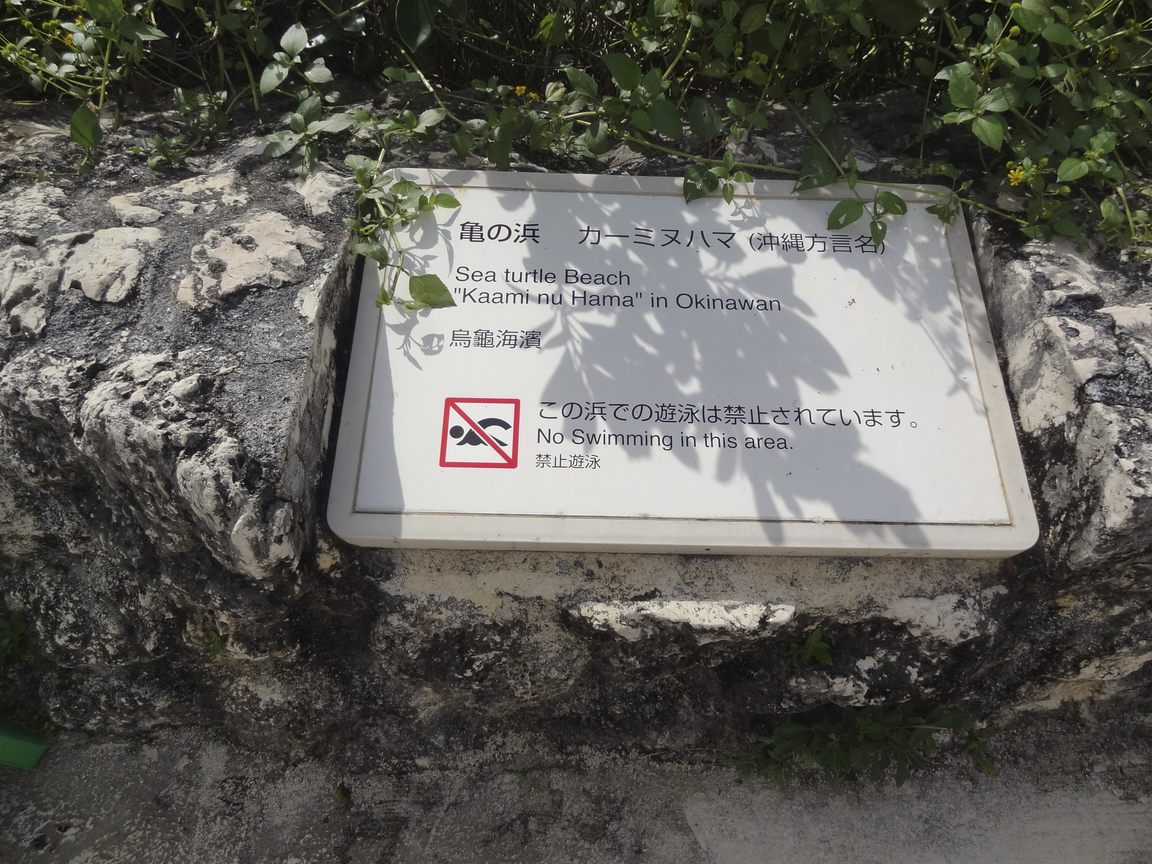
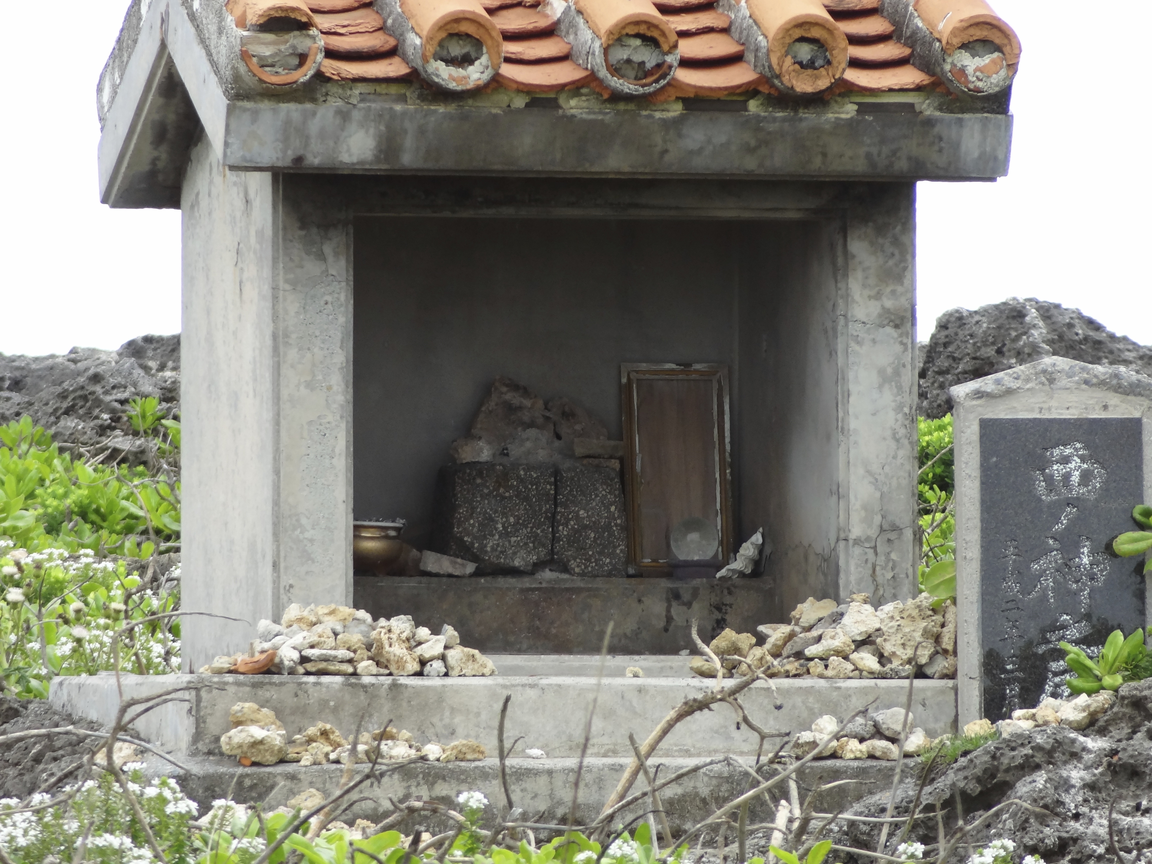
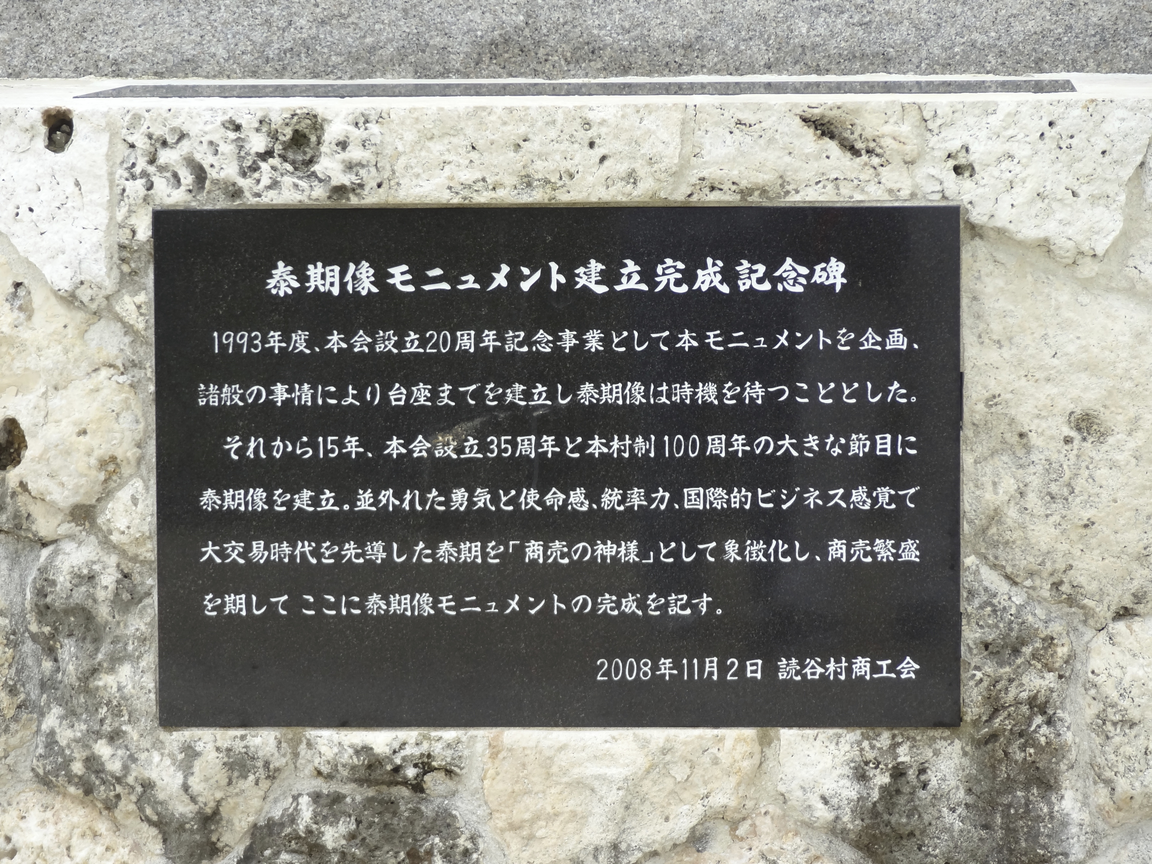
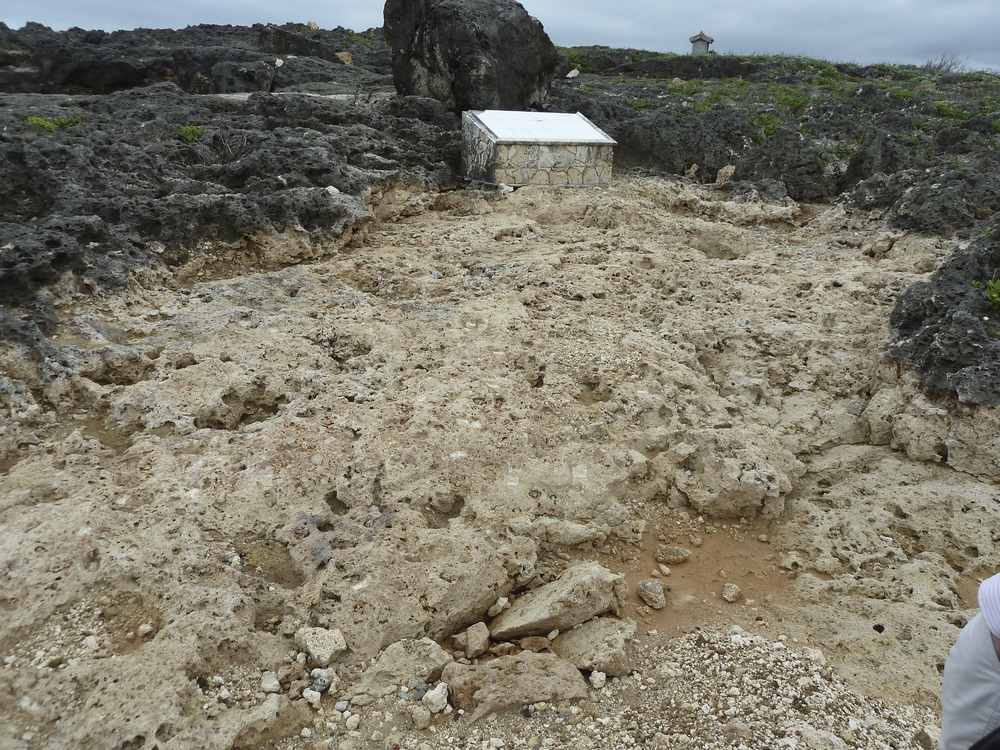
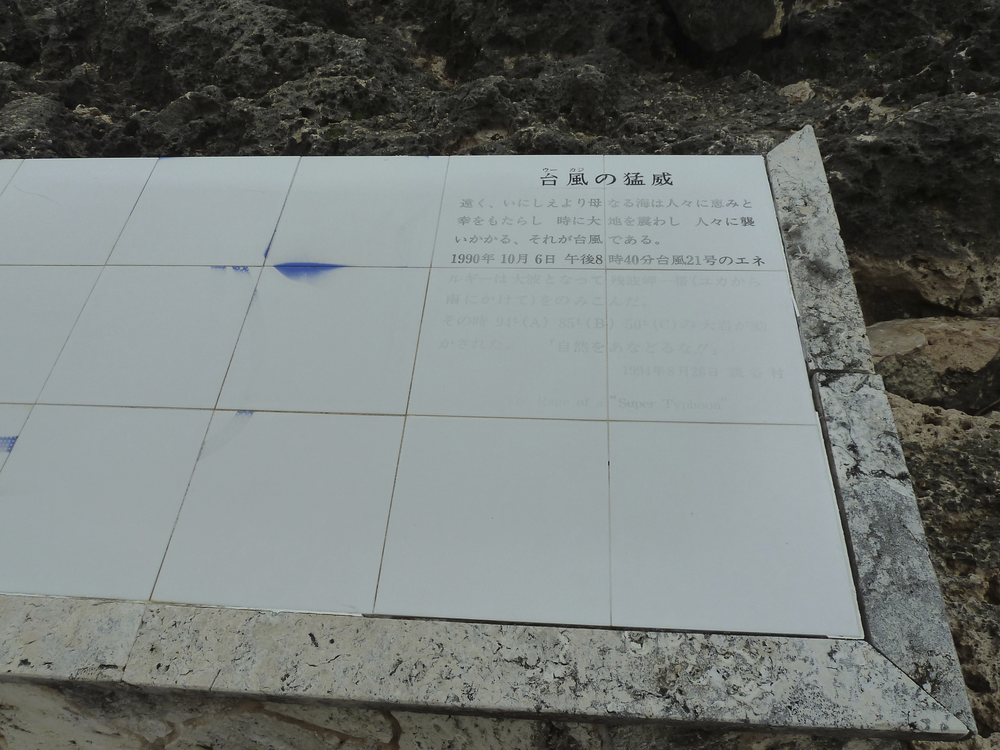
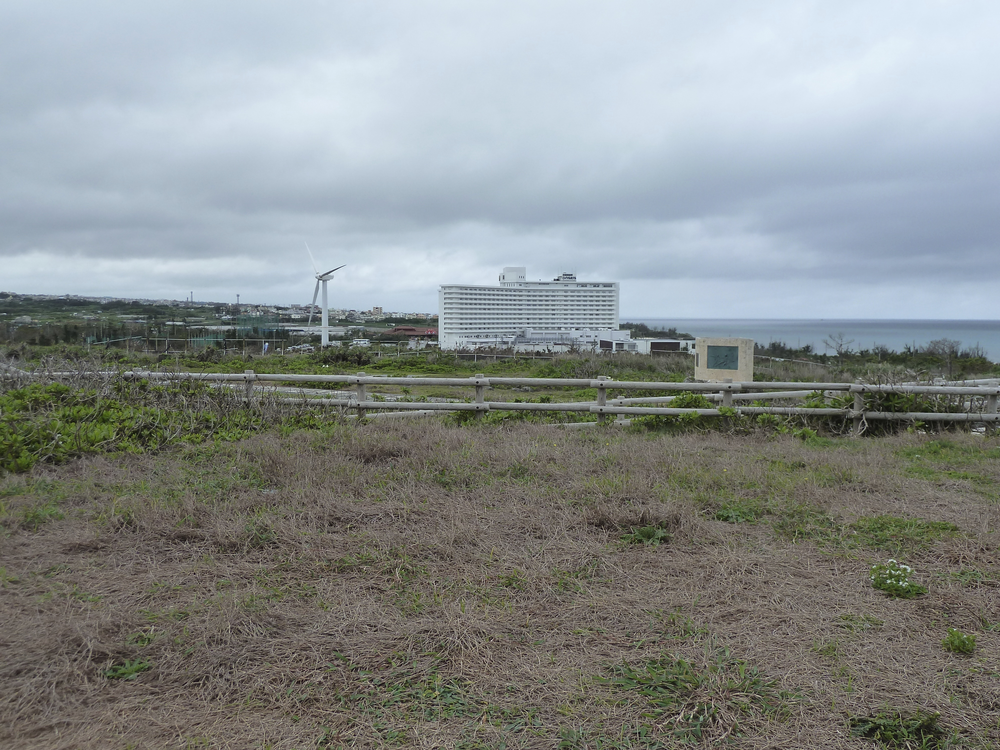
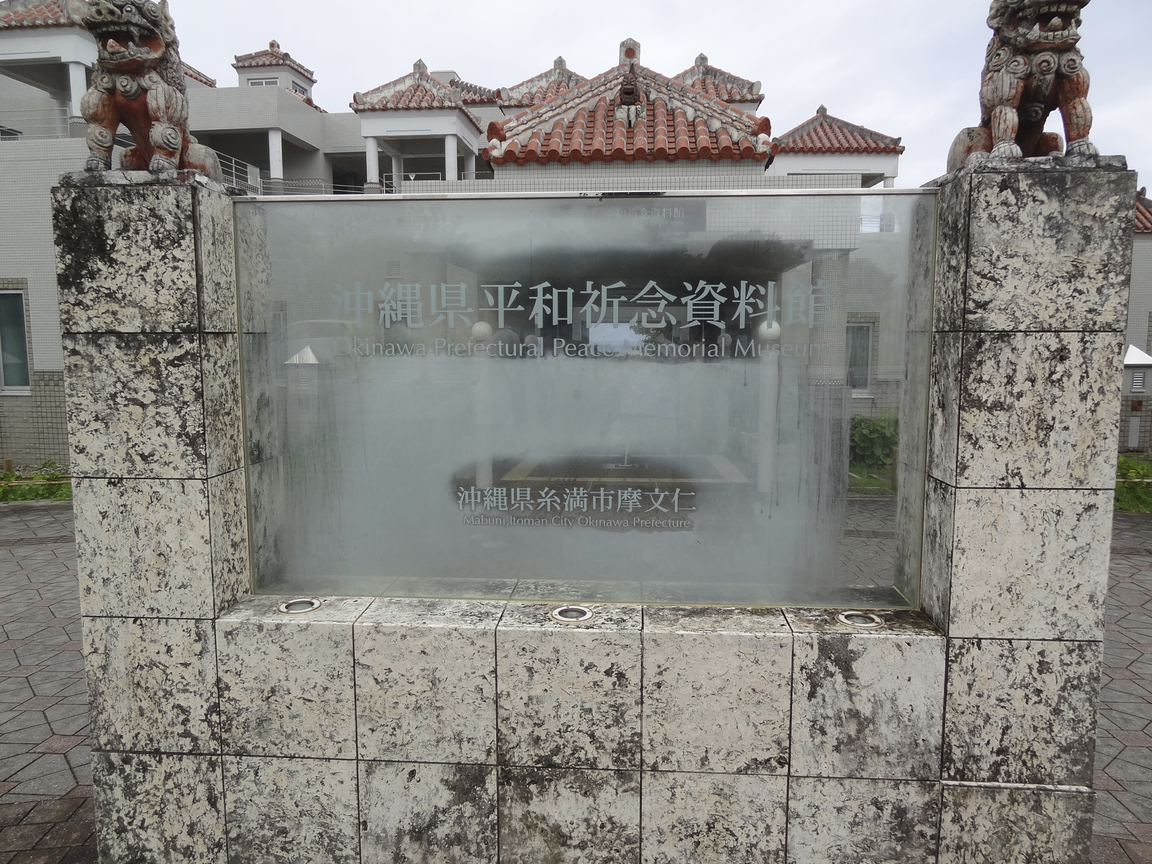
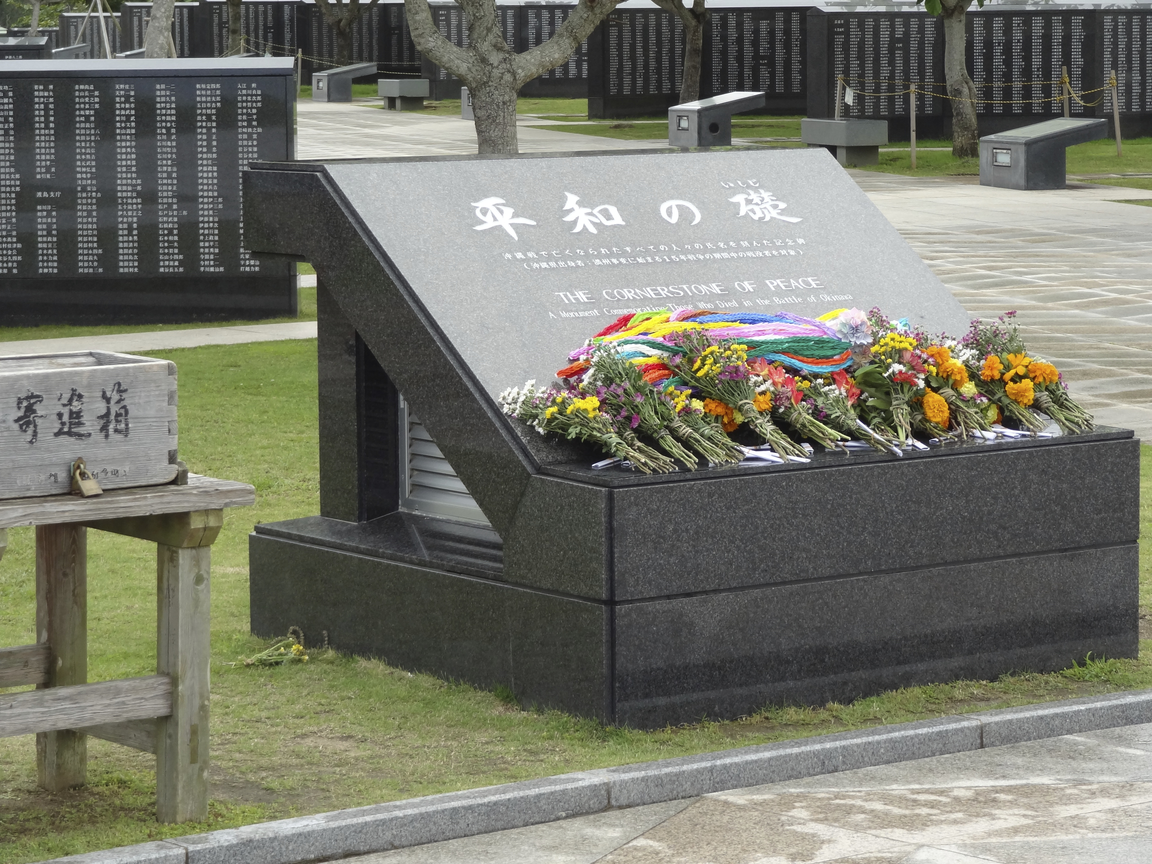
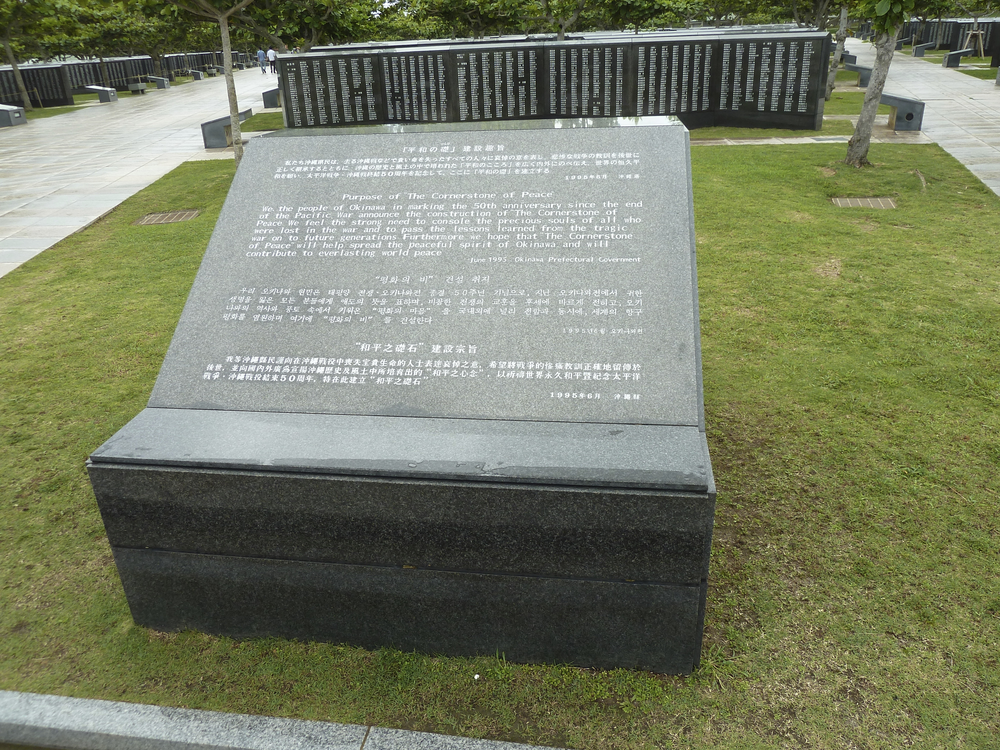
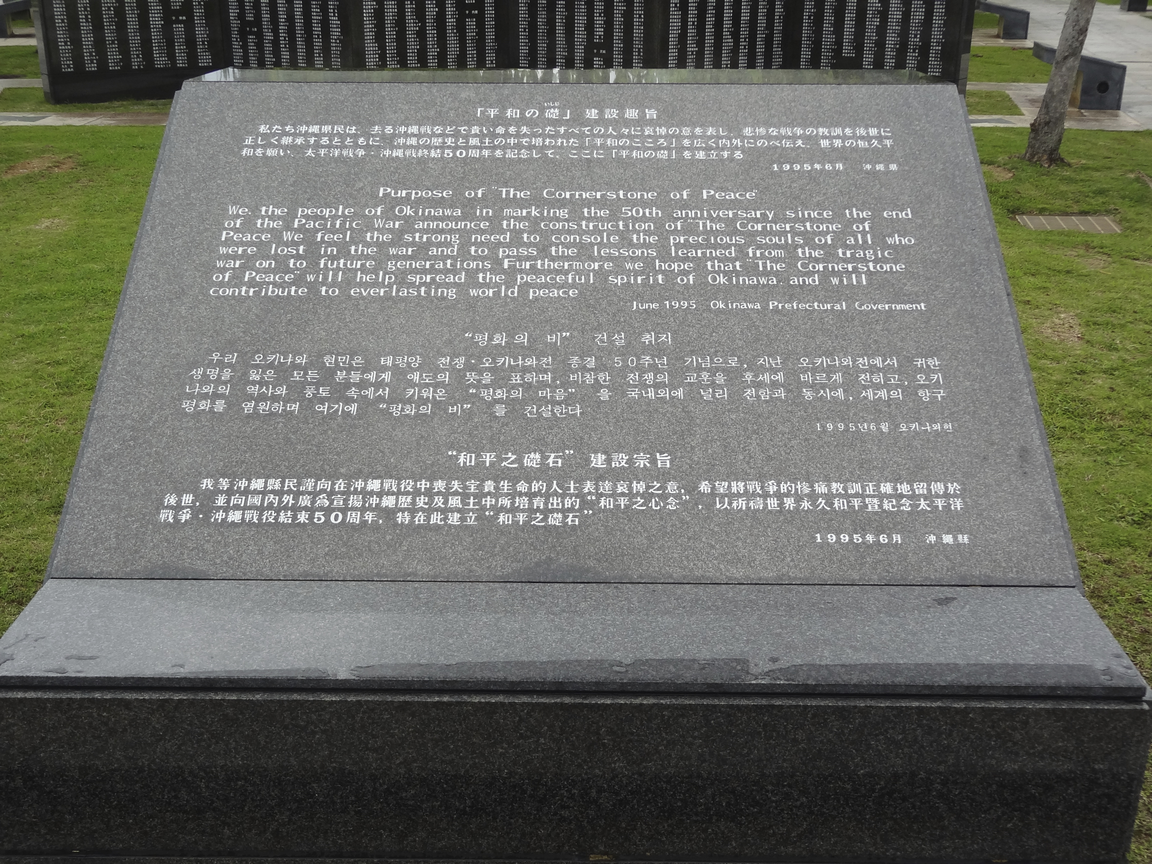
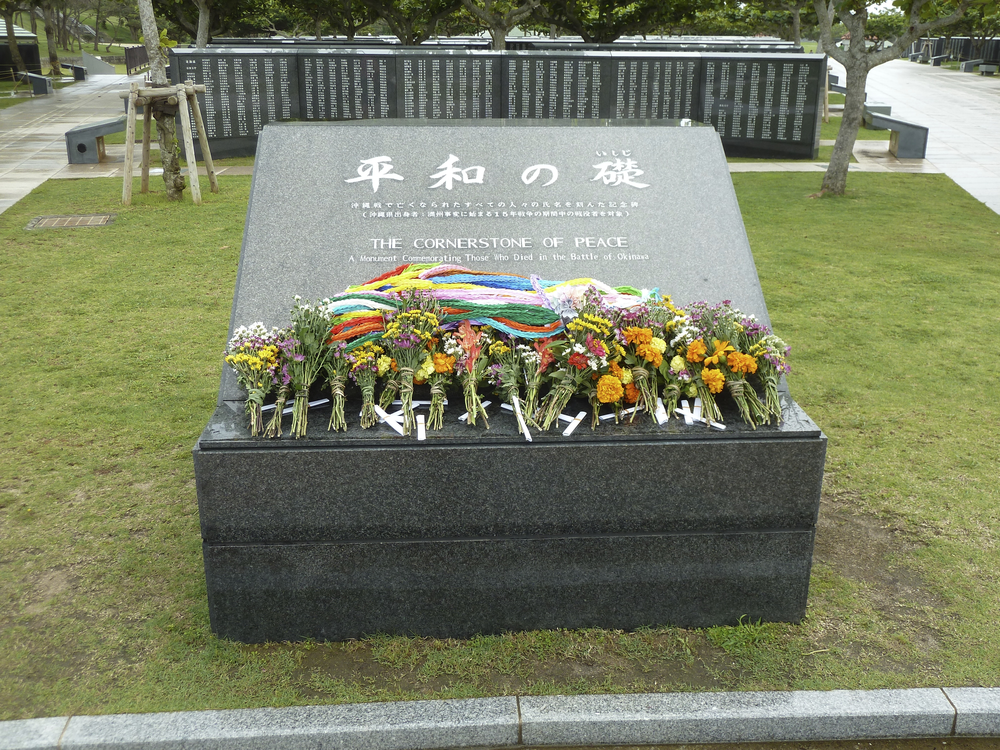
Okinawa Trip

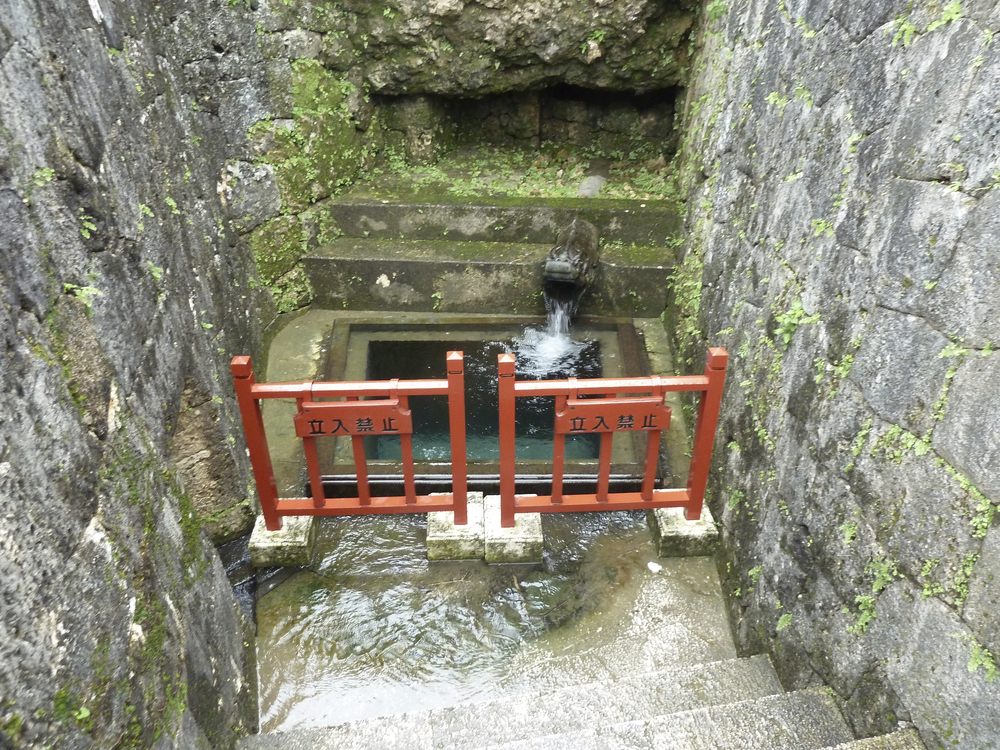


















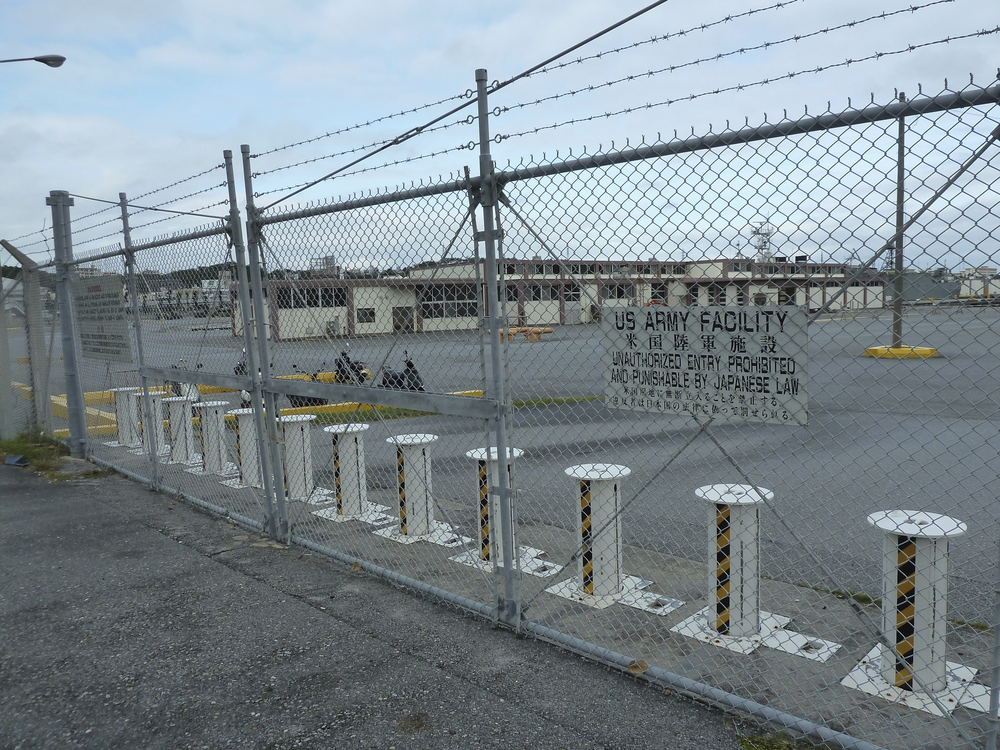






































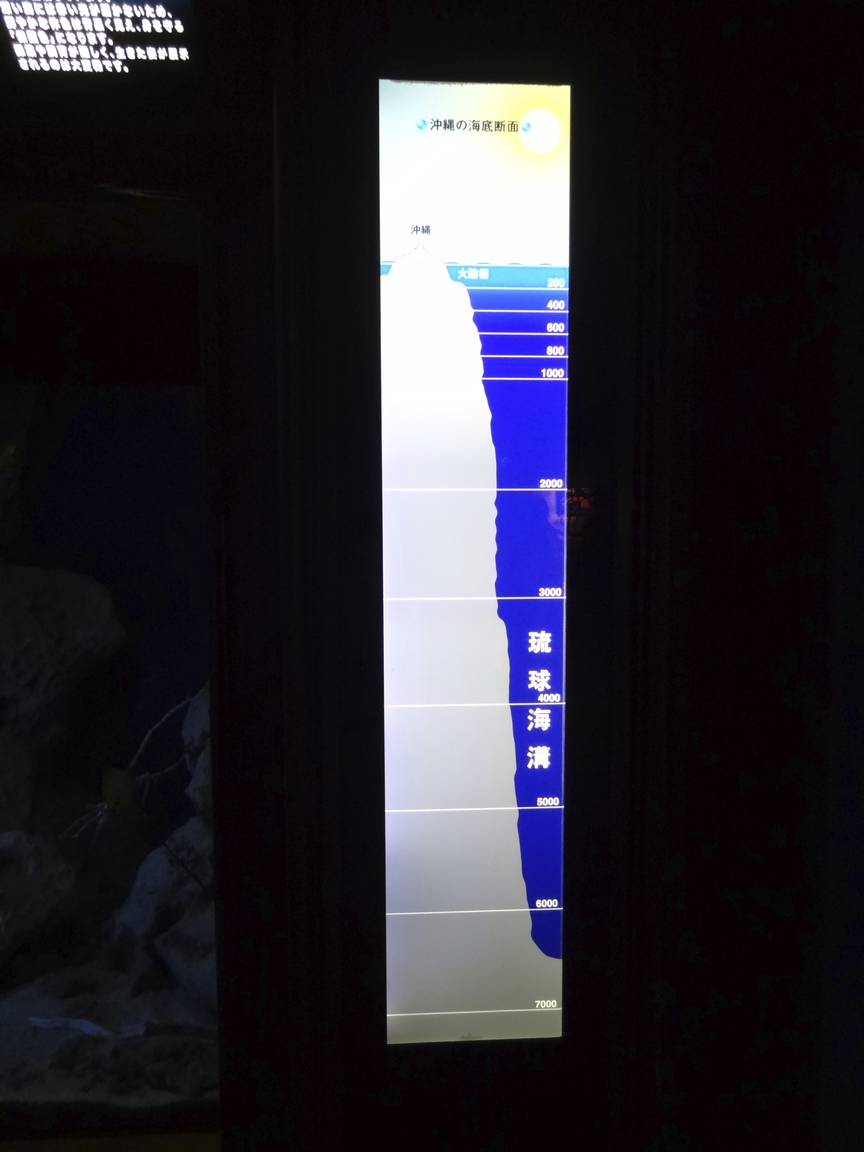
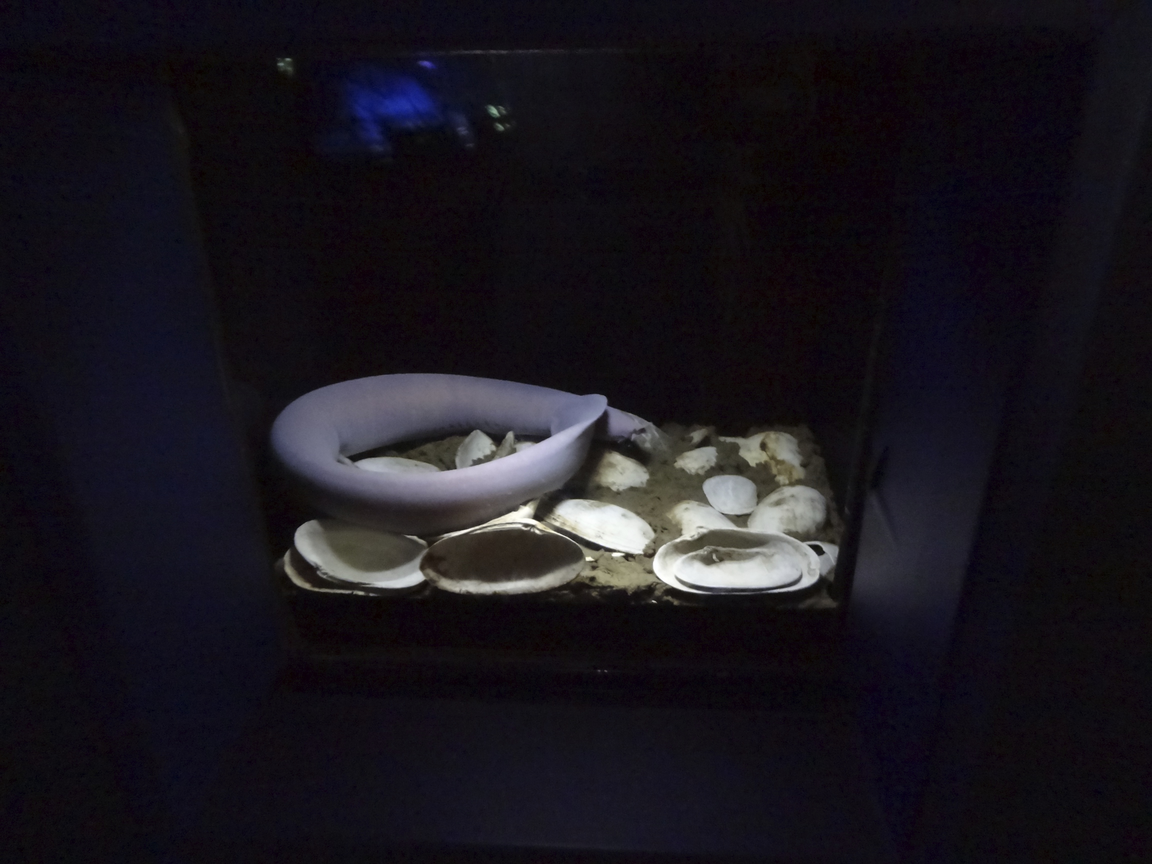





























































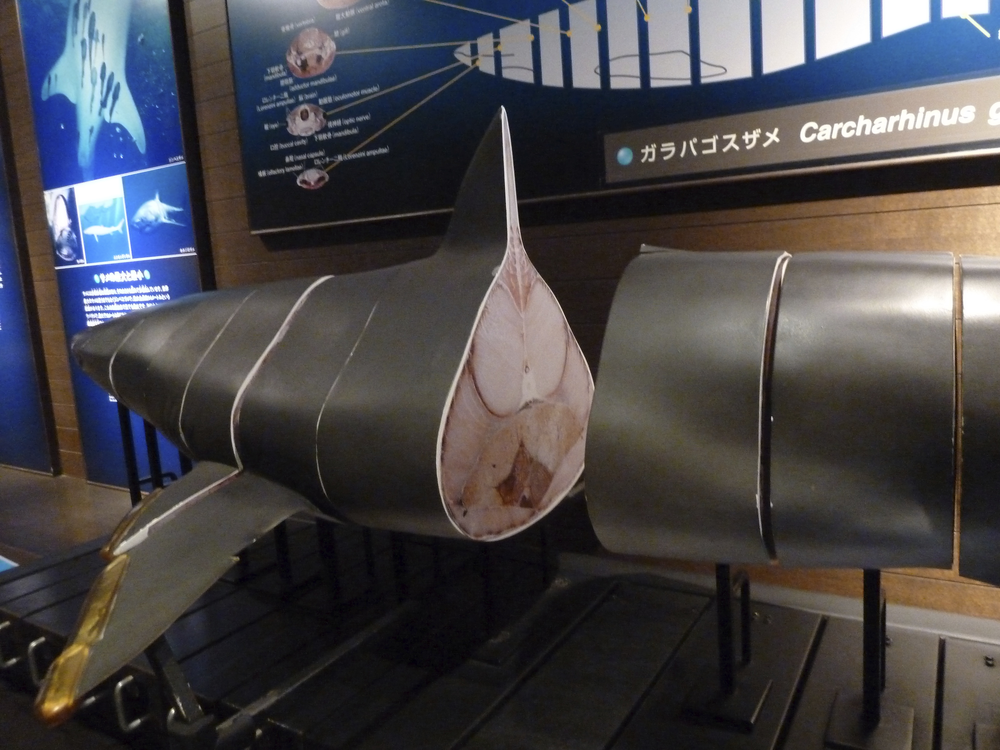








































































































































































































































































































Chess

Gossip1 min read
It's warm... uhh?

VMWare vSphere2 min read
Work through: Upgrade vSphere 5.1 to 5.1 Update 1
This document is about upgrading vSphere 5.1 to 5.1 Update 1.
Phase 1: Preparation
You need these listed below:
- vCenter Installation Disc (iso): VMware-VIMSetup-all-5.1.0-1065152.iso;
- ESXi update package (zip, optional, will be used in Update Manager): update-from-esxi5.1-5.1_update01.zip;
- SSO admin password;
- vCenter service account password;
- An account within local administrators group of vCenter server; and,
- If you have Update Manager Client Plug-in installed on the same server of vCenter, it should be uninstalled before upgrading.
Phase 2: Upgrading vCenter and additions
- Insert vCenter Installation disc or mount iso.
- You cannot perform an upgrading installation by VMware vCenter Simple Install. It is required to upgrade all components manually as the same sequence as items listed in VMware vCenter Installer: vCenter Single Sign On, VMware vCenter Inventory Service, VMware vCenter Server, VMware vSphere Client (optional), VMware vSphere Web Client (optional) and VMware vSphere Update Manager.
- While upgrading the SSO (vCenter Single Sign On), you will be notified to enter the SSO admin password. A restart is required after performing SSO upgrading.
- Nothing more information is required while upgrading Inventory Service.
- Password of vCenter service account is required while upgrading vCenter Server. It is possible but highly not recommended to change service address or port while upgrading.
- All other 3 upgrading tasks are easy to perform. All you need is press Next button after starting the processes.
- (Optional) Check the server status by logging on from vSphere Client.
- (Optional) Install the Update Manager Client Plug-in now.
Phase 3: Upgrading ESXi
- Log on vSphere Client with Update Manager Client Plug-in.
- (Optional) Uploading ESXi upgrading package
- In the Update Manager Tab of the top level of vCenter Hosts and Clusters (top item from the left panel), select Admin View.
- In the Patch Repository tab, click Import Patches and upload update-from-esxi5.1-5.1_update01.zip. It will save downloading time of ESXi upgrading process.
- Go back to Compliance View.
- Scan your ESXi server.
- (Optional) Stage. You may want to stage one server first to test your patch repository before staging all servers.
- Remediate. You may need to set the servers in maintenance mode but not necessary. ESXi servers will be rebooted automatically after remediation.
Phase 4: VMtool upgrading
Upgrade VMtool on each virtual machine.
Phase 5: vSphere Client upgrading
Upgrade vSphere Client on all installed computer.
Phase 6: Troubleshooting
If there are some templates in your vSphere, you may need to convert them to virtual machine to upgrading VMtool. If this function is grayed out, you can re-enabled it by removing the related template from inventory and adding it back.
NetworkingWindows1 min read
Set Windows Update to use http proxy
By default, Windows Update will access to microsoft update server or your WSUS server directly, no matter you set a http proxy in IE option window or not. If your computer cannot access the internet directly, that may cause a problem.
To resolve that, you need to:
- Set a http proxy in IE option window;
- Open cmd window by administrator permission;
- Enter this command and press enter:
netsh winhttp import proxy source=ie
To disable the proxy setting of Windows Update, do the similars above, just changing the step 1 to disable that http proxy.
Ubuntu1 min read
Show the System Information again in Ubuntu Server
Every time when I log on my ubuntu server, there always be a System Information displayed. How can we tell to the bash to re-display this screen again?
The command is: landscape-sysinfo
Simply, you just need to type land and press tab key to let the auto complete do the job.
Source: http://askubuntu.com/questions/7949/where-does-the-system-information-information-come-from-on-login